3 Steps for Sterilizing a Baby Bottle
3 Steps for Sterilizing a Baby Bottle
Summary
Step 1: Sterilize your bottles the old-fashioned way
Step 2: Use a sterilizer
Step 3: Prefer cold sterilization
During the first few months, it is recommended to sterilize baby bottles. From about 4 months onwards, your baby will start to put things in his mouth, which will inevitably lead to bacteria.
There are two types of sterilization:
- Hot sterilization is undoubtedly the most used by mothers. It is a simple, practical, fast sterilization method (pan or sterilizer).
- Cold sterilization is less known but is easily done with tablets.
Whatever the chosen method of sterilization, ensure you are doing the right things and respect the procedure for an optimal result.
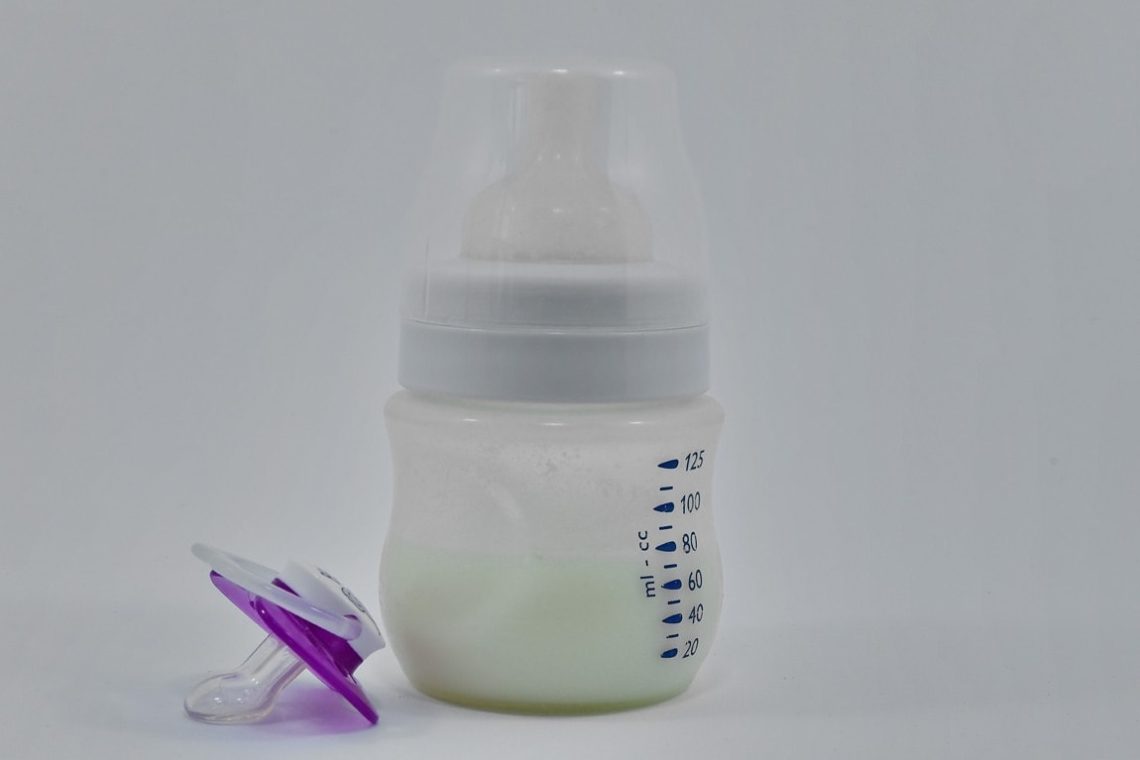
First and foremost, the bottles must be clean. Sterilization will be ineffective if the bottles are not perfectly cleaned first.
Remember to wash your hands before handling the bottles or to use tongs. Here are the steps to follow to sterilize a bottle properly.
1. Sterilize your bottles the old-fashioned way
If you don’t have a sterilizer on hand or don’t want to clutter up your kitchen with equipment, there is a straightforward solution: sterilize your bottles in boiling water.
Heat a large pot of water or a pressure cooker until it boils.
Once the bottles have been cleaned, plunge them into the boiling water, filling them, so they do not float and are well-cleaned inside.
Allow 20 minutes for the bottles, rings, and caps and between 5 and 10 minutes for the nipples (to avoid deforming them).
Warning: set a timer to ensure you don’t forget your pan on the stove! Rings, in particular, can melt.
2. Use a sterilizer
The principle is the same whether you choose an electric sterilizer or a microwave sterilizer. It is to sterilize thanks to the steam.
Be sure to follow the specific instructions for your device (water to add, sterilization time, etc.):
Place the disassembled and perfectly cleaned bottles in the tray of the device.
Add water to the device or the reservoir.
Place the machine in the microwave or plug it into the mains.
Sterilize for 5 to 15 minutes, according to the manufacturer’s instructions.
Remove the components with tongs and store the bottles in the refrigerator.
Note: When connected to the mains, the sterilizer stops automatically and can be equipped with an acoustic signal.
3. Prefer cold sterilization
Cold sterilization is very convenient because it does not require electricity or a microwave. A chemical process does the sterilization with the help of disinfecting tablets of sodium hypochlorite.
The main advantages of this solution are its price and its long-lasting effectiveness. This method can also be welcome when traveling or on vacation, as it does not require much equipment. A slight chlorine smell may remain, but this does not affect the baby.
Here’s how to properly cold sterilize:
Arrange the disassembled and cleaned bottles in a tub filled with water.
Add one or more tablets (depending on the size of the container and the number of bottles).
Let soak for at least half an hour.
Remove the bottles with tweezers and store them in the refrigerator or leave them in the disinfectant solution until needed (no more than 24 hours).
Tip: Cold sterilization can be used to sterilize items that cannot be heated or that will be damaged (toys, teethers, etc.).
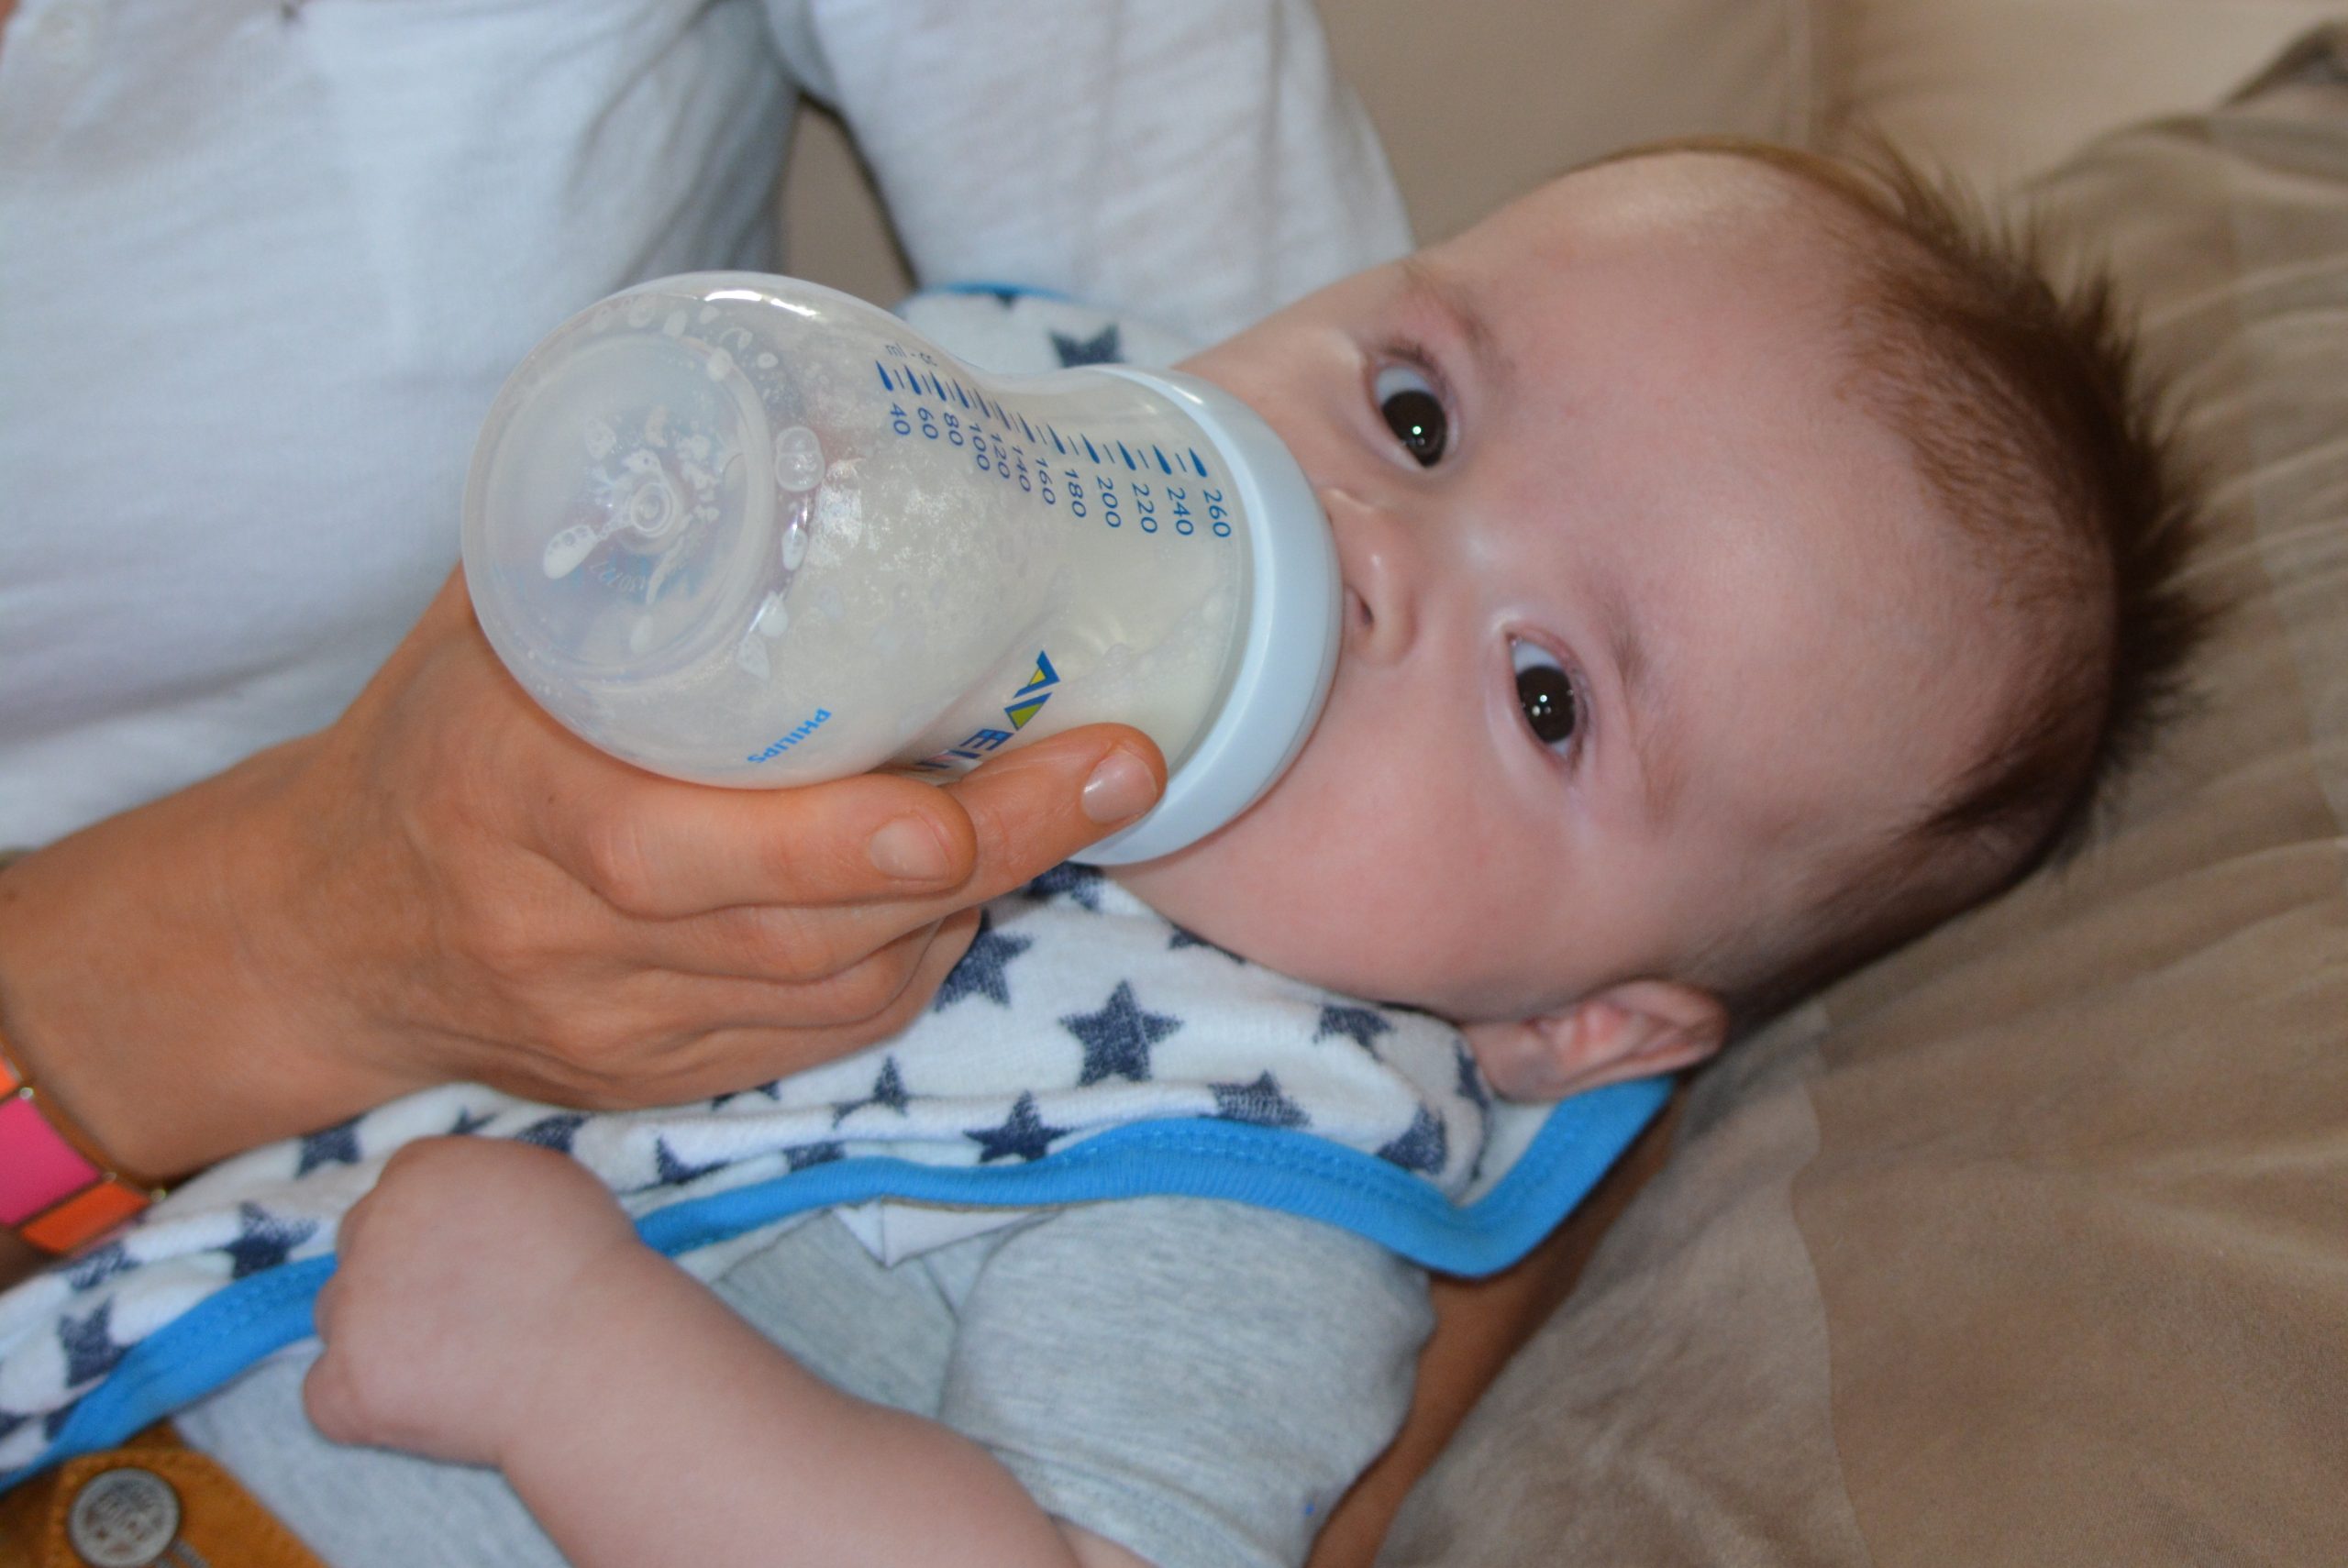
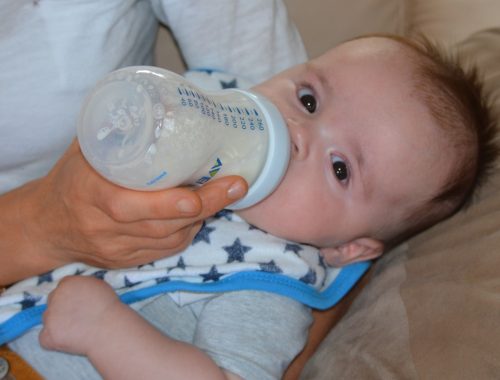
Once your bottles are well sterilized, you can prepare your baby’s meal with complete peace of mind.
Equipment needed to sterilize a bottle
Cold sterilization tray
Disinfecting tablets
Multi-purpose pliers
Electric sterilizer
Microwave sterilizer
Hope this post has provided you with the information you were looking for. Remember to jot down a few words in the comments below.


You May Also Like

Is Your Child Thriving in the Right School Environment?
What Do Health Organizations Think of Growing-up Milk?