How To Build Your Own Crib?
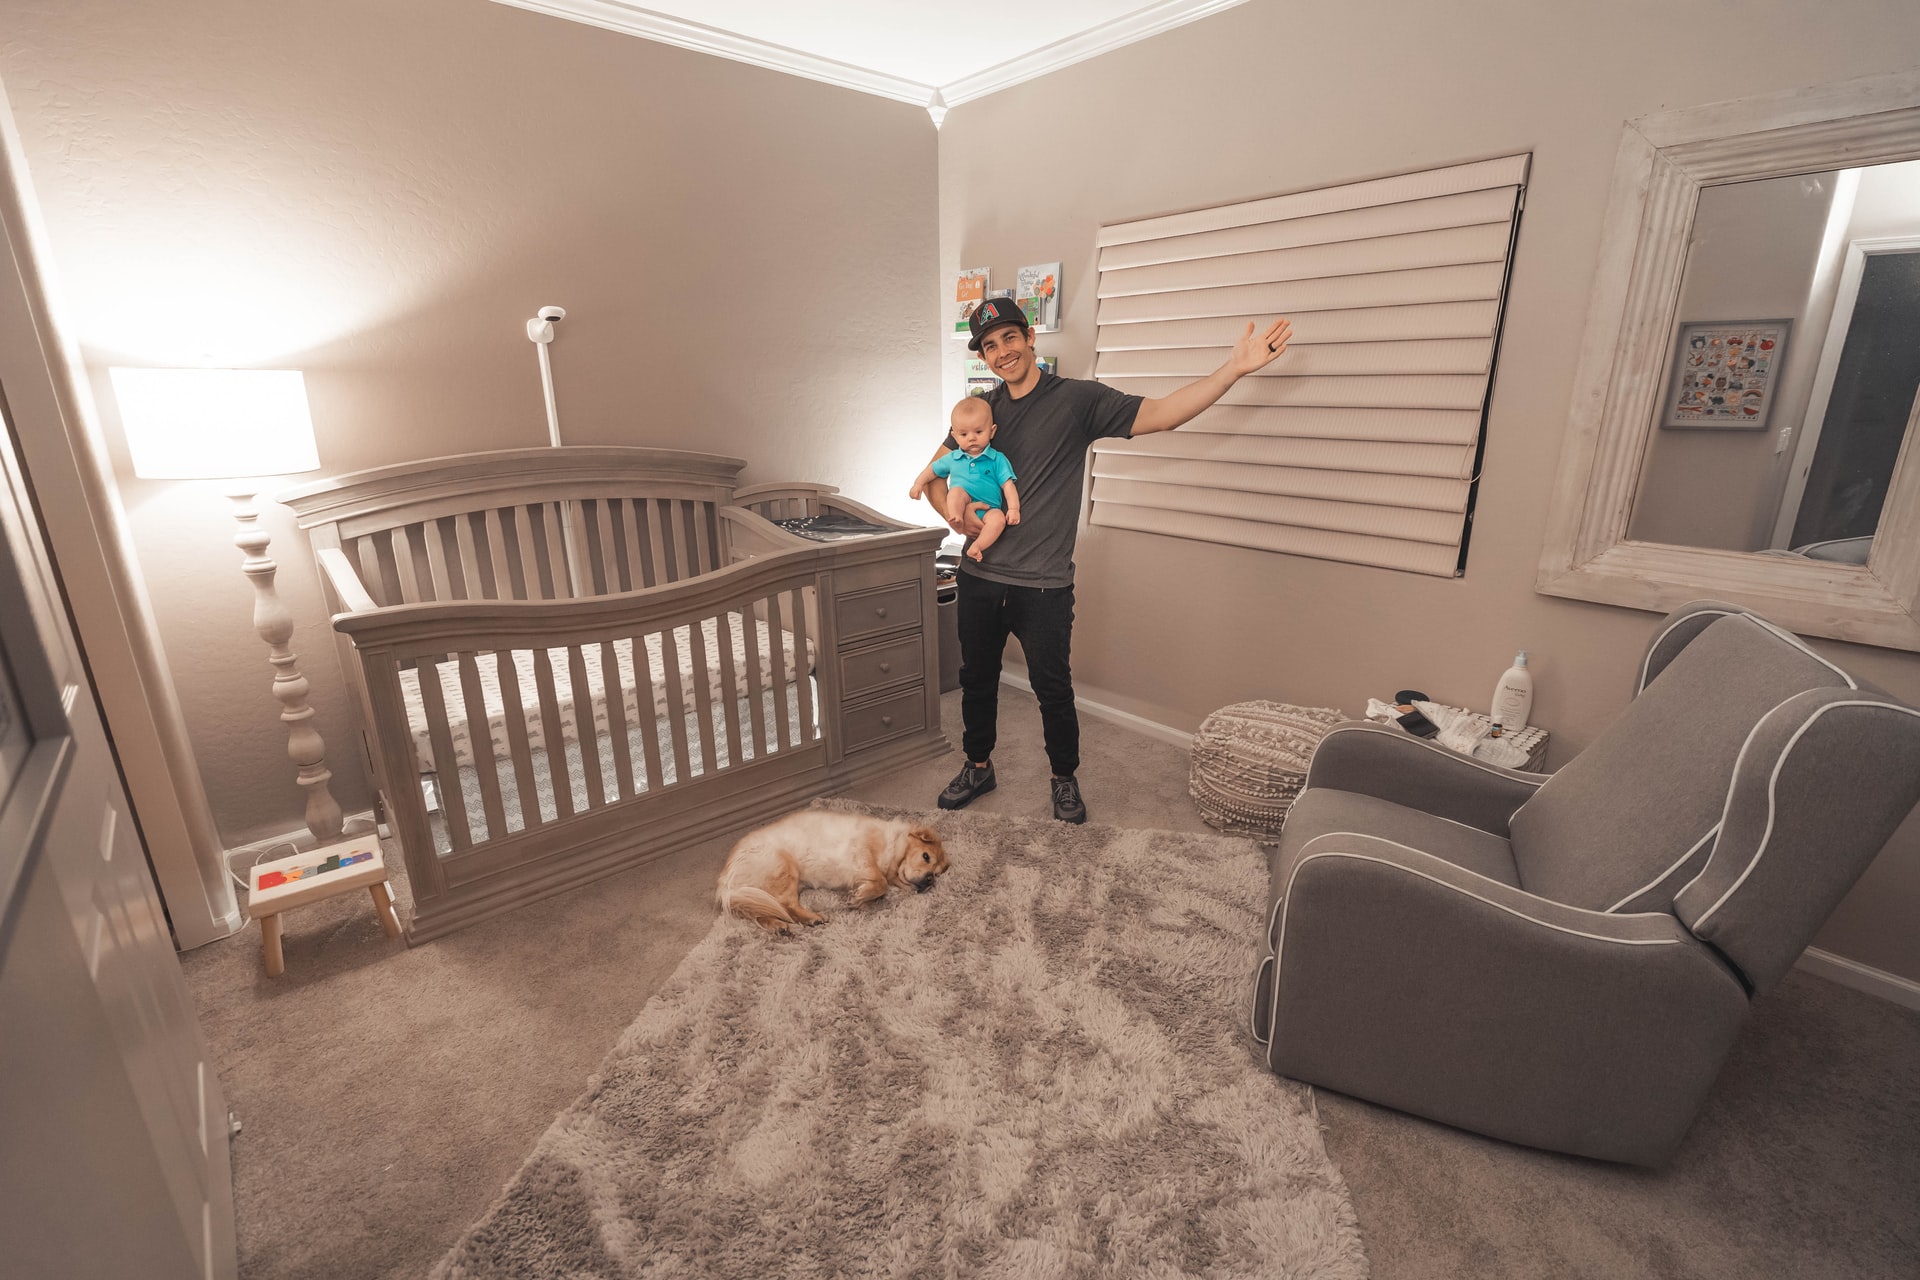
Are you expecting a baby? The preparation of its room, in particular the preparation of its bedding, is overexciting. Indeed, it is necessary to foresee the installation of the crib in which your infant will sleep until it’s 3 years or even more. It is possible to make a crib yourself. Discover in this article the details and the steps of this operation.
Determine the type of crib

Before making the crib, you must first determine its type according to your tastes, the space you have, and the functions you choose. There are several possible crib shapes and models to choose from.
-
- The co-sleep crib, which is directly attached to the parent’s bed.
-
- The crib with wheels, which has functional and locking wheels.)
-
- The crib with hood, which has a foldable hood to protect the baby from light or noise.
-
- The rocking crib with a fixed position and a swinging position.
-
- The suspended crib which is equipped with a tripod and a canopy.
-
- The folding crib that takes up little space and can be moved easily.
Measure the dimensions

You are free to choose a small or large size crib. But be aware that the latter is more advantageous, as your baby can use it for an extended period of time. However, for safety reasons, the crib must meet the NF EN 1120 standards, which require that the bars be no more than 7 cm apart and that the space between the mattress and the walls be no more than 1 cm. They also specify that the bottom must be flat and rigid and that the depth of the mattress is 20 cm.
If you decide to paint your crib, choose an ecological paint and proceed with the painting at least 15 days before your baby’s arrival to avoid the spread of the paint smell.
Assemble the right materials

Before proceeding, it is essential to assemble the proper materials for making a crib:
-
- 2 boards
-
- Wooden cleats for the upper and lower belt and the rails
-
- 1 plywood board for the bottom
-
- 4 brackets
-
- Wood screws with a curly head
-
- Flathead wood screws
-
- Wood glue
-
- Screwdriver
-
- Drill
-
- Jigsaw
-
- Sandpaper
-
- Clamps
Cutting the wood pieces
To cut the pieces of wood (boards and cleats), apply the necessary markings on the boards and cleats to trace the cut. Cut the first board with a jigsaw. To do this, clamp the board with 2 clamps, place the jigsaw blade just past the cut line, align a cutting ruler along the line, and saw the board. Cut the second board and the cleats to the right size. Sand them with the sandpaper and dust off.
Drill the screws
Before drilling, set the jig and insert the drill bit into the drill. Place each strip in the jig press to drill 2 holes at each end.
Set the location of the rails
Cut 2 templates from a piece of scrap lumber. Place a top rail (to be clamped with a clamp on the workbench) and a bottom rail on your work surface. Draw a 3 mm line with a square. Place the first rail between the 2 crosspieces. Place a template and a rail at the top and bottom near this first rail and mark the marks. Apply wood glue to the rails. Position them on the rails with a large clamp, and screw the assembly.
Assemble the crib
Place the uprights on the sides, screw them to the boards. Position the parts to be mounted and hold them together with a clamp. Screw the 4 brackets on the lower belt and on the sides.
Proceed to the finishing touches
Sand, the crib with sandpaper, apply 2 or 3 coats of varnish or paint. Place the bed base and all the elements required for your baby’s comfort (mattress, pillow, bassinet, blanket, etc.).
Sound off in the comments section below and tell if you want to learn more about cribs.

How To Deal With Sibling Rivalry

You May Also Like

Fun With Chemistry: Having Chemical Magic Sessions With Kids

Essential Tips To Prevent Diaper Rash In Babies