How to Make The Best Diaper Cake
How to Make The Best
Boys’ & Girls’ Diaper Cakes
Summary
– Step 1: Gather materials to make a layer cake
– Step 2: Make the bottom 2 layers of the layer cake
– Step 3: Assemble the bottom 2 layers
– Step 4: Make the top layer of the layer cake
– Step 5: Decorate the layer cake
Originating from across the Atlantic, the baby shower is a party that brings together friends around a mother-to-be. The program includes a shower of gifts, cocooning and regressive games around the birth. It is also customary to set up a sweet table, the centerpiece of a “diaper cake”.
If you are organizing a baby shower, here is a step-by-step guide on making a diaper cake. If no baby shower is planned, this cake can be given as a baby gift.
1. Gather materials to make a diaper cake
To make a diaper cake, you will need:
– 2 round cake pans, in different sizes;
– About 100 disposable diapers (depending on the size of the molds);
– as many rubber bands as you have layers;
– Seamstress elastic;
– 2 wooden skewers;
– Pins;
– double-sided tape;
– Satin ribbon at least 3 cm wide, in the color of your choice;
Tip: you can also add a 1 cm wide satin ribbon, in the same color or not (with a pattern such as polka dots, checks, etc.), depending on the effect you want to achieve.
– a baby bottle;
– Various decorations (little booties, stuffed animals, toys, etc.).
2. Make the bottom 2 layers of the diaper cake
Once you have gathered your materials, make the diaper cake, starting with the bottom layers:
– Take a diaper and roll it on itself into a cylinder, which you will hold together with a rubber band.
– Make a large number of rolls this way.
– Fill the largest molds with rolls laid vertically, squeezing tightly to get as many layers as possible.
– Tie a length of sewing rubber around this first layer snugly, and tie securely.
– Remove the cake pan.
– Camouflage the elastic with the wide ribbon, which you will hold in place with a few pins or double-sided tape.
Tip: Wrap a thinner ribbon (1 cm wide) around the wide ribbon and tie it up nicely.
– Do the same to make the second layer of the cake using the smaller pan.
3. Assemble the 2 lower layers
In the larger bottom layer, push the 2 skewers vertically between the layers.
Then place the other layer on top: make sure that the skewers do not pierce the layers but stick out between them.
4. Make the last layer of the layer cake
The base of the layer cake is done:
– Cover the entire bottom of the bottle with double-sided tape, then place it, pressing lightly, firmly in the center of the layer cake.
– Wrap the bottle with diaper rolls and hold them in place with a length of elastic.
– Mask the elastic with a wide satin ribbon (lined with a smaller ribbon if you like).
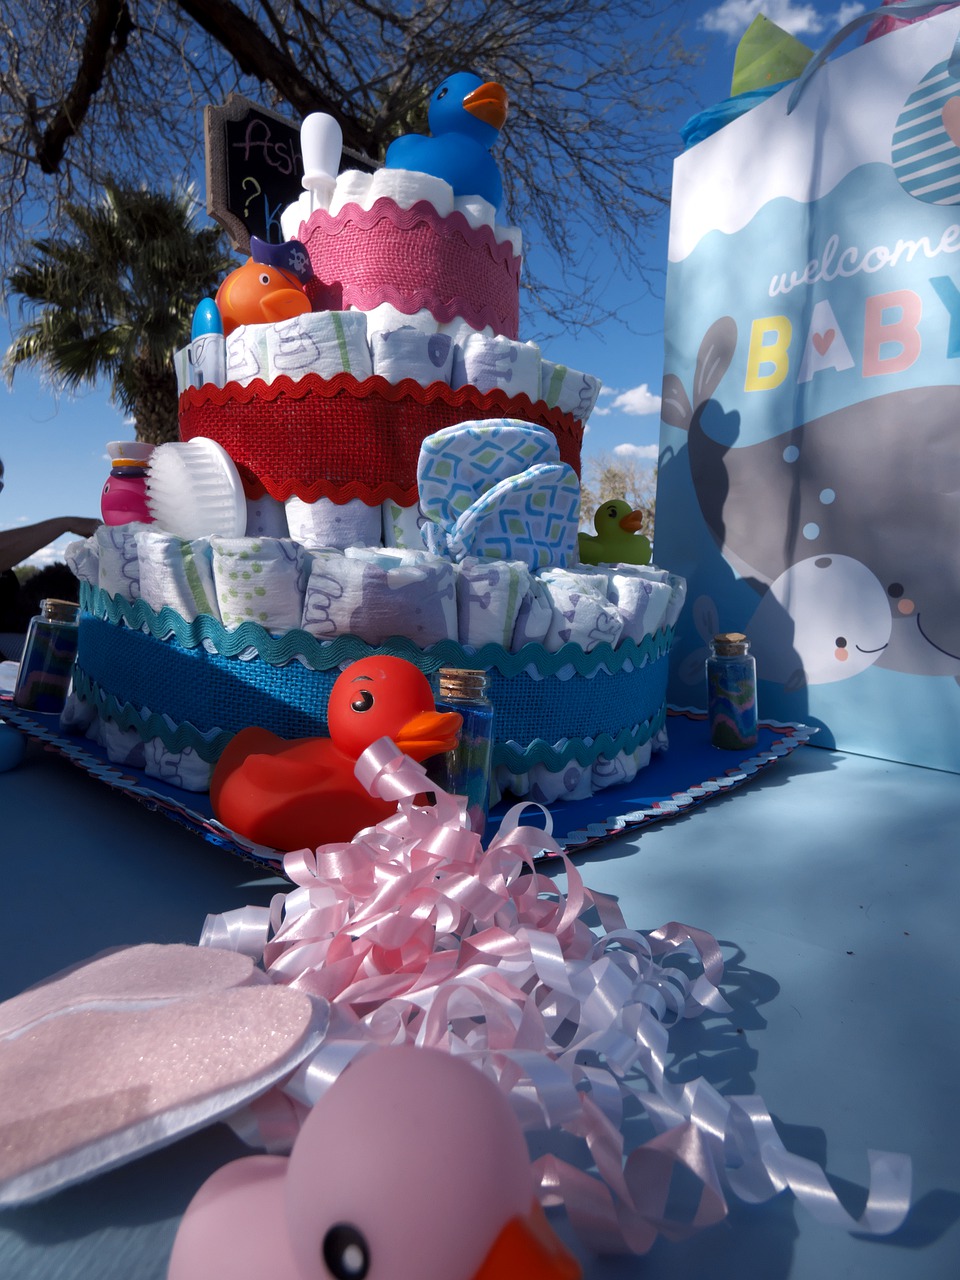
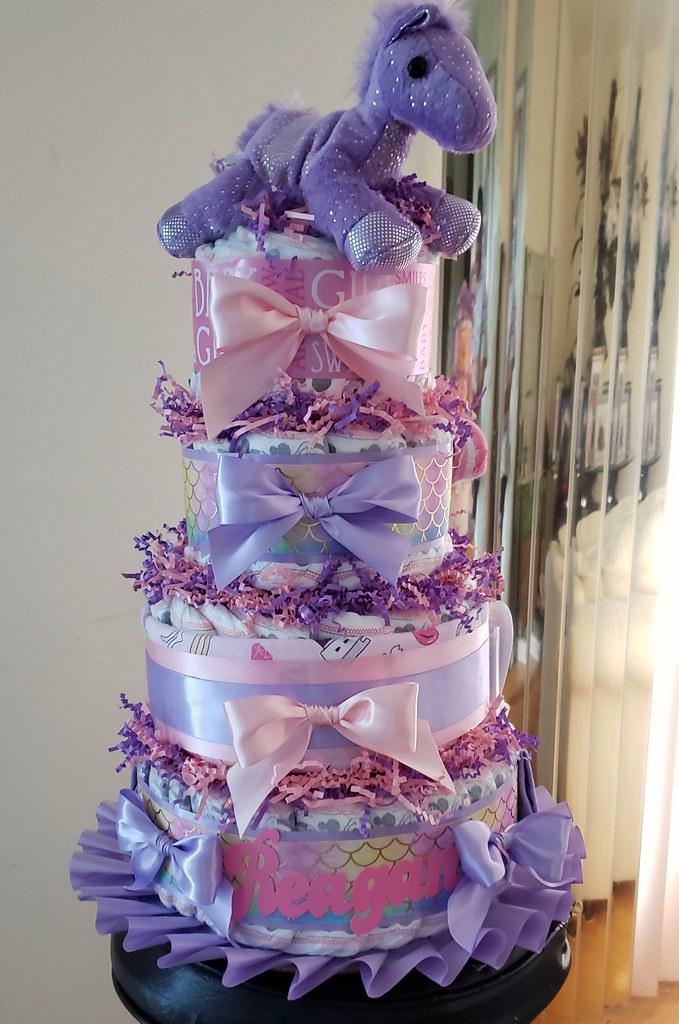
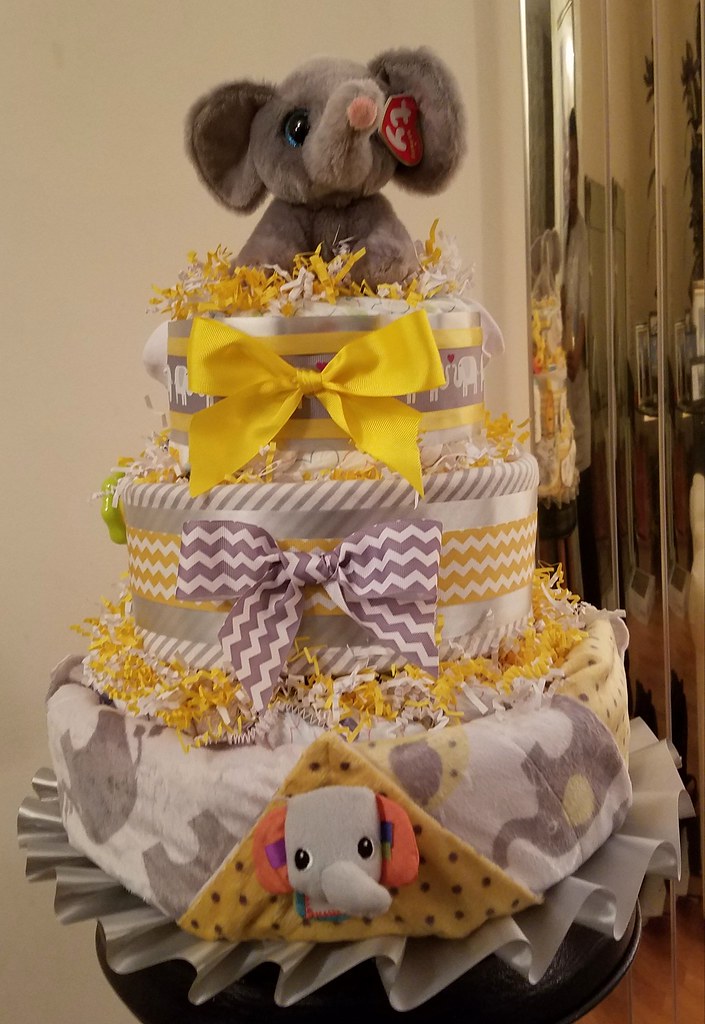
5. Decorate the diaper cake
Now get creative with decorating your layer cake.
For example: put little booties or a stuffed animal on top of the cake; decorate the layers with rattles, a pacifier, little toys, teddies, samples of baby toiletries, bows, flowers, or fabric butterflies…
Tip: Attach more miniature decorations with double-sided tape, wrap a thin satin ribbon around more oversized ornaments, and stick pins into the cake.
To accentuate the sweet table effect, place your creation on a round tray and arrange marshmallows or sugarplums around the cake.
Materials needed to make a layer cake
| Elastic |
| Mold |
| Double-sided tape |


2 Comments
Pingback:
Pingback: